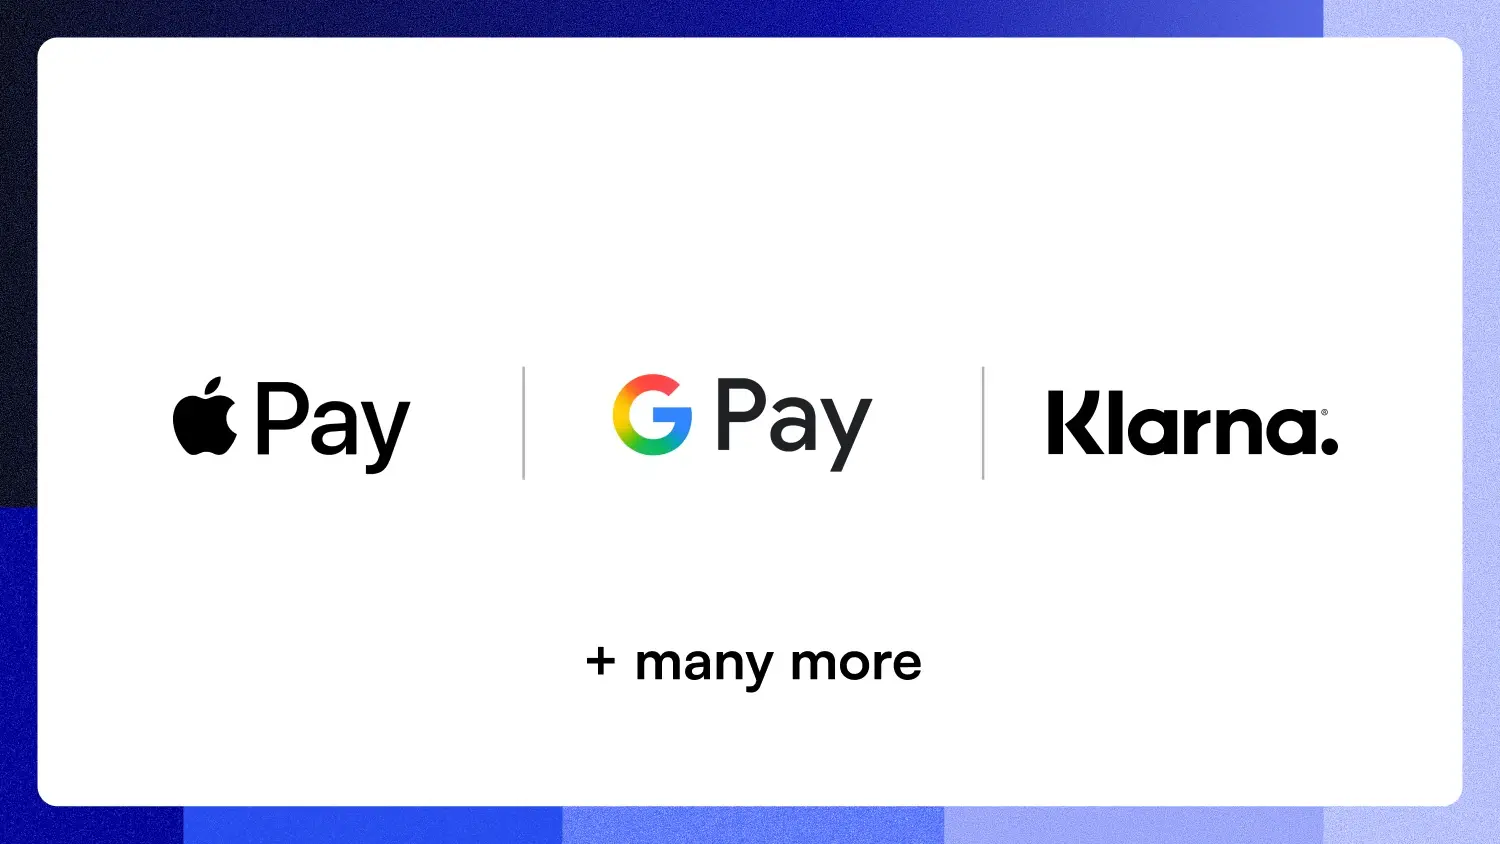
The best checkout page is the one where a client never has to think about how they're going to pay, they just see the option they already use everywhere else and go. Card, Apple Pay, Google Pay, or something like Klarna if they'd rather split it into installments. Getting there takes a two-step setup, one inside Stripe, one inside Podyx, and it's worth doing properly rather than assuming the two accounts are already talking to each other.
Getting a payment method onto your studio's checkout page always takes both steps, enabling it in Stripe, then registering your booking domain in Podyx, and either one on its own isn't enough.
Stripe actually organizes its payment methods into eight separate families. Wallets, Apple Pay and Google Pay being the two anyone recognizes by name. Buy-now-pay-later, Klarna is the one everyone's heard of, but Affirm, Afterpay, and a handful of others live in the same family, the same flexible-payment thinking behind something like a prepaid session package. Bank debits and bank redirects, which skip cards entirely and pull straight from a customer's own bank account. Real-time payments, which settle almost instantly. Even cash-based vouchers, for someone who'd rather pay in person at a shop than online. Which of these actually apply to you depends on your account's country and your customer's, Stripe's own coverage varies a lot by region and currency, and Apple Pay and Google Pay specifically follow Apple's and Google's own supported-locations lists rather than Stripe's.
How We Set It Up
We started on the Stripe side, where Apple Pay, Google Pay, and Link were already enabled by default for our region. Getting them onto our own checkout page took one more step on the Podyx side, registering our booking domain, which is easy to miss if you don't already know it's there. Once both are done, everything enabled in Stripe carries through to checkout automatically from then on, no repeating the step for each new method you turn on later.
How Do You Turn On Apple Pay and Google Pay for Your Checkout Page?
Start on the Stripe side. Log into your Stripe account, go to Settings, then Payments, then the Payment Methods tab. Select your default account, and you'll see every payment method currently enabled for your region. Turn on whatever you want available here, Apple Pay, Google Pay, or anything else your account supports.
That's as far as Stripe takes you. To actually put those methods in front of a client, go to your Podyx account, open Settings, and go to the Payments menu item. Scroll down to the Stripe Connect section, and click Register Your Booking Domain. That single click connects your booking domain to your Stripe account, which is what tells your checkout page which methods it's allowed to show, the same kind of one-time setup worth folding into your studio's operating rhythm.
How to Know It Worked
Go through your own checkout flow the way a client would, all the way to the final payment step. Whatever you enabled on the Stripe side, Apple Pay included if you're testing from a device that supports it, should show up as a selectable option next to a regular card. If something's still not showing, Stripe has its own troubleshooting tool for this, in your Stripe Dashboard under Settings, Payment Methods, Review.
The upside compounds the more of these you turn on. A client who can pay however they already pay for everything else, card, Apple Pay, Google Pay, Klarna, has one less reason to hesitate at the exact moment they've already decided to book, the same kind of friction pricing psychology already covers on the price side of that decision. Worth the two minutes to set up properly, since it's a permanent piece of your checkout once it's done, and a smooth first payment is part of what turns someone into a repeat booking in the first place.

%20(1).jpg)